

Fixing coolant leaking into the cylinder requires replacing the head gasket or repairing the cracked cylinder head. Coolant leaking into the cylinder is a severe issue that can lead to engine failure and costly repairs.
One of the primary causes of this problem is a damaged head gasket, which could result from overheating or aging. When such leakage occurs, it exposes the engine to the risk of significant damage. In some cases, the coolant may find its way to the combustion chambers, resulting in white smoke coming out of the tailpipe.
It is imperative to address this issue promptly by taking the vehicle to a professional mechanic who can diagnose and fix the problem. This may involve replacing the head gasket, repairing the cracked cylinder head, or replacing the engine altogether. If you went to know more about stop coolant leaks into your engine: learn how to fix it now!, keep reading!
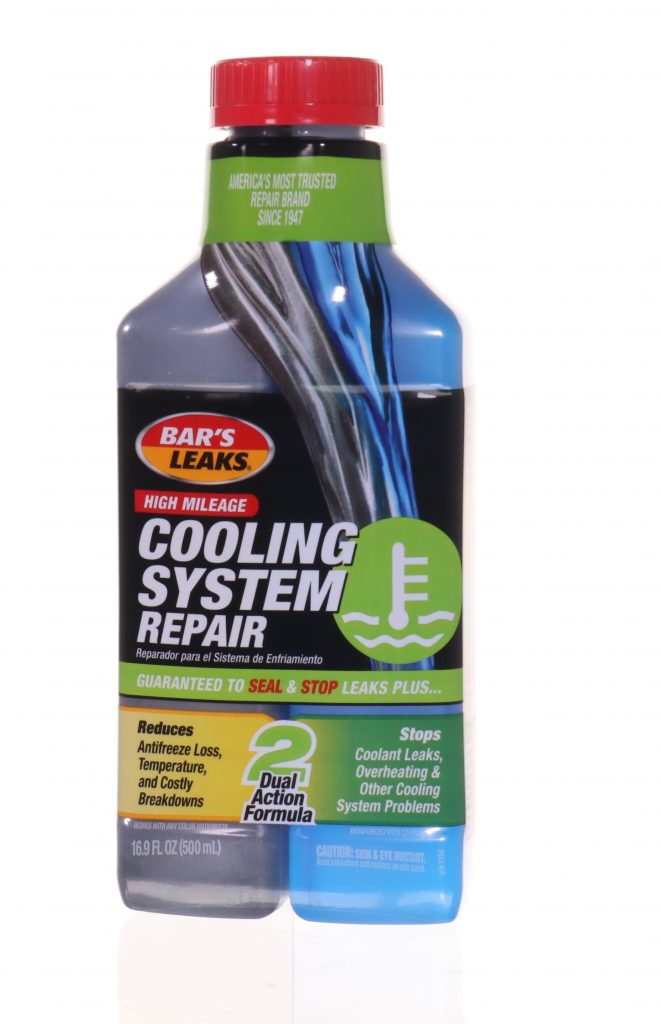
Credit: barsleaks.com
Understanding Coolant Leaks And Their Causes
Coolant leaks can be a serious issue for your engine, leading to overheating and even engine failure if left untreated. It’s essential to understand the causes of these leaks and how to identify them to prevent costly repairs and keep your vehicle running smoothly.
Here are the key points:
- Coolant leaks can occur due to damaged gaskets, hoses, and engine components that allow coolant to escape.
- These leaks can lead to overheating, which can cause damage to the engine’s components.
- Identifying the source of the leak as soon as possible is essential to prevent further damage and avoid costly repairs.
Common Causes Of Coolant Leaks
There are several common causes of coolant leaks, including:
- Damaged gaskets: Gaskets that have become worn or cracked can allow coolant to escape. Common gaskets that can cause leaks include head gaskets, intake manifold gaskets, and water pump gaskets.
- Cracked hoses: Hoses that have become brittle or cracked over time can also allow coolant to escape. Check for leaking hoses located near the radiator, water pump, and engine.
- Faulty engine components: Components such as the water pump, thermostat, and radiator can develop leaks that allow coolant to escape.
Identifying The Source Of A Coolant Leak
Identifying the source of a coolant leak is essential for preventing further damage and avoiding costly repairs. Here are the steps to identify the source of a coolant leak:
- Check the engine oil: If the oil appears milky, it may indicate coolant has mixed with the oil, pointing to a leaking head gasket.
- Check for puddles under your vehicle: Look for pools of coolant under your vehicle when parked. Typically, coolant leaks from hoses or the radiator may leave a moist trail leading up to where the leak is coming from.
- Use a pressure tester: A pressure tester can be used to pressurize the vehicle’s cooling system and locate leaks. This device identifies a change in pressure from the ideal level, signaling a leak and its location.
- Examine the engine components: Use a flashlight and visually examine the engine, hoses, and gaskets to locate the source of the leak.
By following these steps, you can identify the source of a coolant leak and prevent further damage to your engine. Remember, if you’re not confident in identifying and repairing coolant leaks, seek professional help.
Essential Tools And Materials For Fixing Coolant Leaks
A List Of Basic Tools And Materials Required To Fix Coolant Leaks
Fixing coolant leaks is a common and necessary repair task for car owners. Before starting the repairs, you need to make sure that you have the right tools and materials to fix the problem effectively. Here is a list of basic tools and materials that you should have on hand before you start fixing coolant leaks:
- Drain pan to collect the drained coolant
- Screwdriver to remove the clamps or fasteners
- Jack and Jack stands to lift the vehicle
- New gasket or sealant to replace the old one
- Seal puller to remove the old seal
Specialized Tools Or Materials That May Be Necessary Depending On The Type Of Leak Or Engine
Some coolant leaks may require specialized tools or materials to fix the problem effectively. Depending on the type of leak or engine, you may need:
- Radiator pressure tester to locate the leak
- Timing cover gasket set for timing cover leaks
- Hose clamp pliers to remove and install clamps easily
- Water pump socket or a wrench for water pump leaks
- Heater core flush kit to flush the system thoroughly
Fixing coolant leaks requires having the right tools and materials on hand. Basic tools such as a drain pan, screwdriver, and new gasket are essential for most coolant leaks. However, specialized tools such as a radiator pressure tester or hose clamp pliers may be necessary for specific types of leaks.
With the right tools and materials, you can fix coolant leaks and keep your car running smoothly.
Diy Fixes For Common Coolant Leaks
Possible seo-friendly content:
If you suspect that your engine has a coolant leak, it’s critical to address it promptly before it leads to serious damage. Coolant leaking into the cylinder can cause overheating, engine misfires, and even permanent engine failure. Fortunately, some common coolant leaks can be fixed with a few DIY steps, saving you time and money.
Step-By-Step Instructions For Repairing Common Coolant Leaks, Such As Damaged Hoses, Gaskets, Or Cracked Radiators
Here’s a guide to help you fix common coolant leaks in your engine:
- Check for visible leaks: Look for wet spots or drips under the engine, and inspect the radiator, hoses, thermostat, water pump, and heater core for signs of damage or wear.
- Replace damaged hoses: Use pliers to loosen the hose clamps, then remove the old hose and insert a new one. Tighten the clamps, but do not overtighten, as it can damage the hose or connector.
- Replace the damaged gasket: Remove the old gasket and clean the mating surfaces. Apply a thin layer of gasket sealant to the new gasket and install it. Torque the bolts according to the manufacturer’s specifications.
- Repair the damaged radiator: Locate the damaged area and drain the coolant. Use a radiator repair kit or remove the radiator for welding or replacement. Refill the coolant and check for leaks.
- Check the head gasket: If the leak persists, it may be a sign of a blown head gasket or a cracked cylinder head. Use a leak-down tester to inspect the integrity of the combustion chamber and address any internal problems.
Tips For Safely Working On An Engine And Observing Proper Precautions
Before you start working on an engine, follow these tips to avoid injuries or damage:
- Wear protective gear: Always wear gloves, eye protection, and long sleeves to avoid skin contact with hot surfaces or coolant. Be mindful of your working environment, such as slippery floors or loose components that may cause tripping or falling.
- Let the engine cool down: Never attempt to open the cooling system or remove parts when the engine is hot or under pressure, as it can cause severe burns or injuries. Allow the engine to cool down completely before starting any maintenance.
- Use the proper tools: Use only manufacturer-recommended tools and equipment to ensure proper fit and torque. Avoid using improvised or improper tools, as they may strip or damage bolts or connectors.
- Observe proper disposal: Coolant is toxic and can damage the environment, so dispose of it properly in accordance with the local ordinances. Do not pour it down the drain or on the ground.
By following these guidelines and using your common sense, you can fix common coolant leaks and keep your engine running smoothly. However, keep in mind that some leaks may require professional help or advanced techniques, so don’t hesitate to seek assistance if you’re not comfortable with the repair process.
With a little effort and patience, you can save money and maintain your engine’s performance.
Coolant Leak Prevention And Maintenance
Advice For Preventing Coolant Leaks From Occurring In The First Place
A coolant leak can occur without warning and lead to significant engine damage, resulting in costly repairs. Therefore, it is always better to take preventive measures to avoid coolant leaks in the first place. Here are some tips to help you prevent coolant leaks:
- Regularly check the coolant level and top it up whenever necessary.
- Inspect the hoses, belts, and clamps for wear and tear and replace them if necessary.
- Take care when installing new parts to avoid any damage to the coolant system.
- Keep an eye on the engine’s temperature gauge and avoid overheating the engine.
- Use quality coolant and follow the manufacturer’s recommendations on when to change it.
Tips For Proper Coolant System Maintenance, Including Regular Inspections And Fluid Flushes
Proper coolant system maintenance is essential for ensuring your vehicle runs smoothly and without leaks. Here are some tips for maintaining your coolant system:
- Regularly inspect the coolant hoses for leaks, cracks, and bulges.
- Check the clamps and fittings for any signs of corrosion or damage.
- Replace the coolant every two to three years or as recommended by the manufacturer.
- Flush the system once a year to remove any sediment or debris that may accumulate within it.
- Use a quality coolant that meets or exceeds the manufacturer’s recommendations.
Coolant leaks can lead to significant engine damage, resulting in costly repairs. Therefore, it is essential to take preventive measures to avoid leaks and maintain your vehicle’s coolant system properly. By following these tips for proper coolant system maintenance, you can keep your vehicle running smoothly and avoid the hassle of costly repairs.
Frequently Asked Questions For How To Fix Coolant Leaking Into The Cylinder
How Do I Know If Coolant Is Leaking Into The Cylinder?
If you notice white smoke coming from your exhaust, a loss of coolant without visible leaks, or a milky substance on your oil dipstick, there is a good chance that coolant is leaking into your cylinder.
What Causes Coolant To Leak Into The Cylinder?
There are several causes of coolant leaking into the cylinder, including a blown head gasket, cracked engine block, or a damaged cylinder head. These issues can cause coolant to leak into the combustion chamber and mix with the fuel and air.
Can I Drive My Car With Coolant Leaking Into The Cylinder?
It is not recommended to drive your car if coolant is leaking into the cylinder, as this can cause serious damage to your engine over time. It is best to have your car inspected by a mechanic and repaired as soon as possible.
How Do I Fix Coolant Leaking Into The Cylinder?
Fixing coolant leaking into the cylinder requires diagnosing and repairing the underlying issue. This may involve replacing the head gasket, machining the cylinder head, or even replacing the entire engine. It is important to have a qualified mechanic look at your car to determine the best course of action.
Conclusion
Fixing a coolant leak into the cylinder can seem like a daunting and complicated task, but with the right approach and knowledge, it can be done efficiently. It is important to identify the root cause of the issue, which could be anything from a cracked cylinder head to a blown head gasket.
Once you have identified the issue, it is crucial to take the necessary steps to fix it correctly and prevent it from happening again. Regular checks of your vehicle and its cooling system can help prevent issues from arising in the first place.
Always use high-quality coolant and follow the manufacturer’s guidelines for maintenance. With proper maintenance and timely repairs, you can ensure the longevity and performance of your vehicle’s engine. Remember, functional cooling systems are vital to the smooth operation of your engine, so it is always better to be proactive than reactive when it comes to coolant leaks. Thank you for reading our post about stop coolant leaks into your engine: learn how to fix it now.
