

To fix paint bleed under tape, first remove the tape while the paint is still wet, then touch up the affected area with a small brush. Paint bleed under tape is a common problem that occurs when the paint seeps beneath the tape, creating an uneven and untidy finish.
If left unattended, it can ruin the overall look of your project. Knowing how to fix this issue is essential for any diy enthusiast or professional painter. In this article, we will explore the causes of paint bleed under tape and provide you with step-by-step instructions on how to fix it. If you went to know more about how to eliminate paint bleed under tape: expert tips, keep reading!
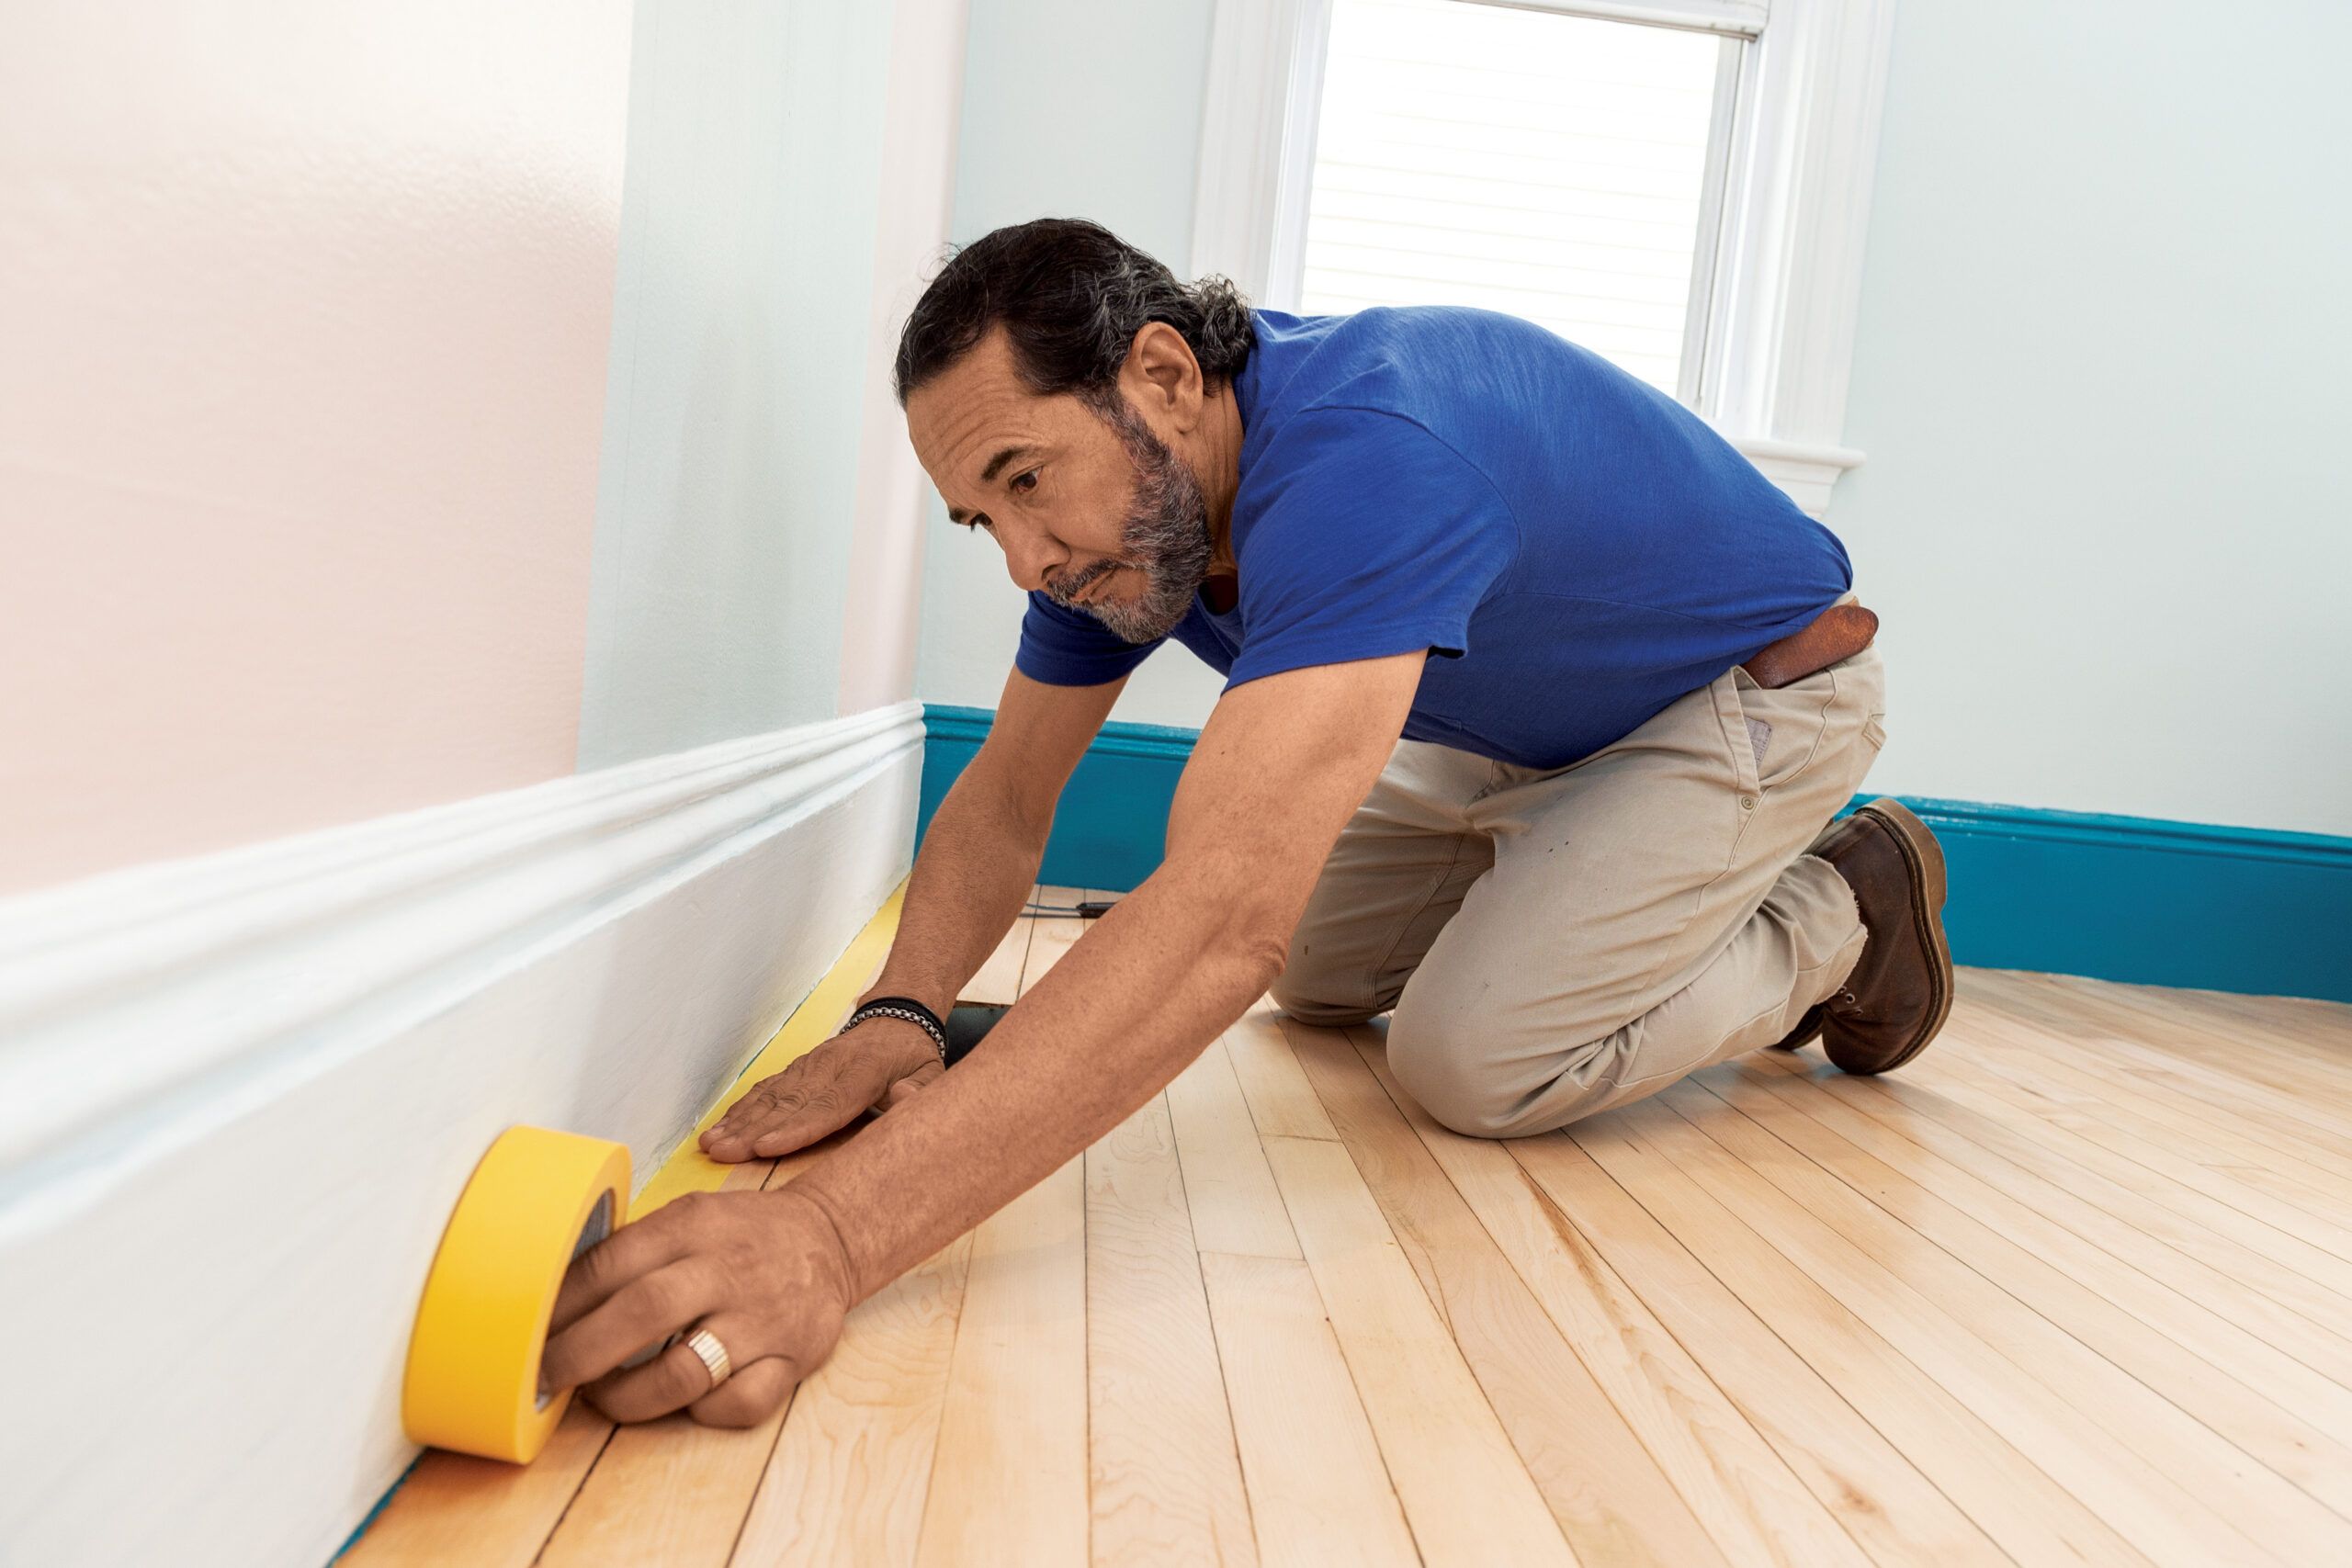
Credit: www.thisoldhouse.com
Choosing The Right Tape
Fixing paint bleed under tape can be a frustrating task, especially when you’ve spent so much time and effort on your paint job. One of the most significant factors that affect the success of paint jobs is choosing the right type of tape.
We will discuss the essential aspects that you need to consider when selecting the right tape for your painting project.
Types Of Tape
There are various types of tapes available in the market, but not all of them are suitable for every painting job. Here are the most common types of tape that you can use to prevent paint bleed:
- Painter’s tape: This tape is typically used for delicate surfaces like woodwork, brick, and stone. It’s easy to apply and remove, and it usually comes with a low adhesive strength to prevent damaging the surface underneath.
- Masking tape: This tape has a stronger adhesive than painter’s tape, making it great for surfaces like glass, plastic, and metal. It’s also more durable than painter’s tape, which makes it last longer during painting projects.
- Duct tape: Although duct tape is not specifically designed for painting projects, it can be used in a pinch. However, it’s not recommended for delicate surfaces, as it may leave a sticky residue.
Adhesive Strength
Adhesive strength is an essential factor to keep in mind when choosing the right tape. The adhesive strength of the tape varies from low to high, and this affects the tape’s ability to stick to surfaces and prevent paint bleed.
Here are some tips to consider when choosing the right adhesive strength:
- Low adhesive strength: This strength level is best used for delicate surfaces to prevent damage when removing the tape.
- Medium adhesive strength: This strength is suitable for surfaces that require more adhesion, like plastic or metal.
- High adhesive strength: This strength is best used for hard-to-stick surfaces and for areas where you want the tape to stay longer, like baseboards and corners.
Surface Compatibility
Not all tapes are compatible with all surfaces. Applying the wrong tape on the wrong surface can lead to paint bleeding and surface damage. Here are some tips to help you choose the right tape for your surface:
- For wood surfaces, use painter’s tape as it has low adhesive strength and prevents paint bleeding.
- For surfaces that are difficult to stick to, like brick or stucco, use a high adhesive tape to prevent paint bleeding.
- For glass or metal surfaces, use masking tape as it provides a stronger adhesive and prevents paint bleeding.
Proper Tape Application
Applying the tape correctly is just as essential as choosing the right tape. Here are some tips to consider when applying the tape:
- Make sure that the surface is clean and dry before applying the tape. Dirt and moisture can prevent the tape from sticking properly, causing paint bleeding.
- Apply the tape smoothly and firmly, making sure that there are no air bubbles or creases.
- Use a utility knife or scissors to cut the tape, ensuring that the edges are clean and straight.
- Remove the tape after the paint is dry to prevent the paint from peeling off.
Choosing the right tape is essential when it comes to preventing paint bleed. Considering factors like tape type, adhesive strength, surface compatibility, and proper tape application can ensure the success of your painting project.
Prepping For Tape Application
Before applying painter’s tape, it is essential to prep the surface to achieve a smooth and seamless paint job. Follow these guidelines to ensure the best results from your tape application:
Cleaning Surfaces
Make sure to clean the surface area well before applying tape to remove dust, grease and debris. A dirty surface can cause the tape to lose its grip, leading to paint bleeding under the tape.
Drying Time
Allow walls and surfaces to completely dry before applying tape. Moisture on surfaces can cause paint to slip, resulting in bleeding.
Creating A Barrier
To prevent paint from bleeding through the tape edges, use a sealing primer. Apply the sealing primer with a paintbrush and wait for it to dry before you apply the painter’s tape. This creates a barrier that prevents paint from seeping into the surface and ruining your paint job.
Avoiding Dust And Debris
Ensure that the surface area is free from dust, debris, and fibers before applying tape. You can use a tack cloth to ensure that your surface is spotless. This helps to keep the tape in place and prevents any gaps that may lead to bleed.
By following these guidelines, you will have a surface that is optimally prepped for tape application. This process ensures that your tape stays in place during your paint job, results in high-quality edges, and prevents paint bleed under the tape.
Proper Tape Application Techniques
Paint bleed under tape can be a common issue if proper tape application techniques aren’t followed. Here’s how you can ensure a clean paint job:
Tips For Even Application
- Apply tape evenly across the surface you want to paint, making sure the tape is straight and aligned with the edges of the surface.
- If the surface has curves or corners, use shorter pieces of tape to follow the edges while avoiding overlaps or gaps.
- Use a putty knife to press out any air bubbles or wrinkles in the tape. This will help to ensure a smooth surface for painting.
Avoiding Wrinkles And Bubbles
- Start by applying the tape to one end of the surface and slowly unroll the tape while pressing it firmly onto the surface as you go.
- Avoid stretching the tape, as this can cause it to wrinkle or create air pockets. Instead, apply gentle tension to the tape to ensure it hugs the surface.
- When wrapping tape around corners, make small cuts along the edge of the tape to allow it to bend more easily.
Pressing Tape Firmly
- After applying the tape, use a putty knife or other flat tool to press the tape firmly onto the surface, making sure there are no air bubbles or wrinkles.
- Focus on the edges of the tape, ensuring they are pressed down firmly to prevent any paint bleed.
- Avoid applying too much pressure while pressing the tape down, as this can stretch or distort the tape.
Double-Checking Edges
- Before painting, double-check the edges of the tape to ensure they are firmly adhered to the surface.
- Make sure there are no gaps or overlaps that may allow the paint to bleed underneath.
- If there are any areas with insufficient adhesion, carefully press them down with a putty knife for a clean paint job.
By following these proper tape application techniques, you can prevent paint bleed under the tape and achieve a professional-looking paint job every time.
Choosing And Applying Brush/ Roller Techniques
How to fix paint bleed under tape: choosing and applying brush/ roller techniques
One of the most frustrating things about painting is when the paint bleeds under tape, causing an uneven, messy finish. However, this is a common issue that can be easily solved by choosing the right brush/roller and applying them correctly.
We will discuss the different types of brushes and rollers available, proper application techniques, avoiding over-application, and allowing adequate drying time.
Types Of Brushes And Rollers
- Natural-bristle brushes are best suited for oil-based paints, while synthetic brushes work well with latex-based paints.
- Foam brushes or rollers are suitable for smooth surfaces with no texture, while textured rollers work well with surfaces that have some texture.
- When applying paint to tight corners or small areas, a small brush or roller can be used to ensure complete coverage.
Proper Techniques For Application
- Apply the tape firmly and make sure there are no gaps or air bubbles.
- Use a paintbrush or small roller to paint along the edges of the tape.
- Use long and even strokes to apply the paint, starting from the top and working your way down.
- Do not press down too hard on the brush or roller as this can cause the paint to bleed under the tape.
- Always apply two coats of paint, allowing the first coat to dry completely before applying the second one.
Avoiding Over-Application
- Do not overload the brush or roller with paint as this can cause the paint to drip or bleed under the tape.
- Use light pressure when applying the paint and avoid going over the same area more than once.
- Wait for the first coat of paint to dry completely before applying the second coat to prevent over-application and paint bleed under the tape.
Allowing Adequate Drying Time
- Allow the first coat of paint to dry for at least 24 hours before applying the second coat.
- Ensure the paint is completely dry before removing the tape, as removing it too soon can cause the paint to bleed under the tape.
- If the tape does not come off easily, use a sharp blade to cut the edge of the tape before removing it.
The key to preventing paint bleed under the tape is choosing the right brush/roller, applying it correctly, avoiding over-application, and allowing adequate drying time. By following these simple steps, you can achieve a professional-looking finish every time.
Frequently Asked Questions On How To Fix Paint Bleed Under Tape
How Can I Prevent Paint Bleed Under Tape?
Preventing paint bleed under tape involves ensuring that the tape is firmly applied and that all air bubbles are smoothed out. You can also use painter’s tape specifically designed to prevent bleed-through.
What Causes Paint To Bleed Under Tape?
Paint can bleed under tape if the tape isn’t applied firmly enough, if the tape is removed while the paint is still wet, or if the paint is too thin and seeps under the tape.
How Do I Fix Paint Bleed Under Tape?
To fix paint bleed under tape, you can use a small paintbrush to touch up the affected areas. Alternatively, you can carefully remove the tape and do the necessary touch-ups.
Can I Use Any Tape For Painting?
Not all tapes are suitable for painting. You should use painter’s tape specifically designed for use with paint. This tape is easy to apply, easy to remove, and doesn’t bleed or leave any residue.
How Do I Remove Tape Residue After Painting?
To remove tape residue after painting, you can use a putty knife or scraper to lift the edge of the residue and remove it. Alternatively, you can use a commercial adhesive remover or rubbing alcohol.
Conclusion
After following these simple yet effective steps, you can confidently fix paint bleed under the tape. It is important to ensure that the surface is clean and dry before applying tape to prevent any paint bleeding. Taking your time to properly apply and seal the tape, as well as using a high-quality painter’s tape, can greatly reduce the chances of paint bleeding.
Additionally, using the right painting technique and removing the tape while the paint is still wet can ensure a clean and precise line. Remember to always double-check the tape before painting and check the paint for any signs of bleeding as you go.
With these tips and tricks, you can say goodbye to paint bleed under the tape and achieve a professional-looking paint job. Thank you for reading our post about how to eliminate paint bleed under tape: expert tips.